A Gluten-Free Recipe for Blueberry Scones, along with a few musings about my experience with this recipe and how much fun they are to make, serve and eat.
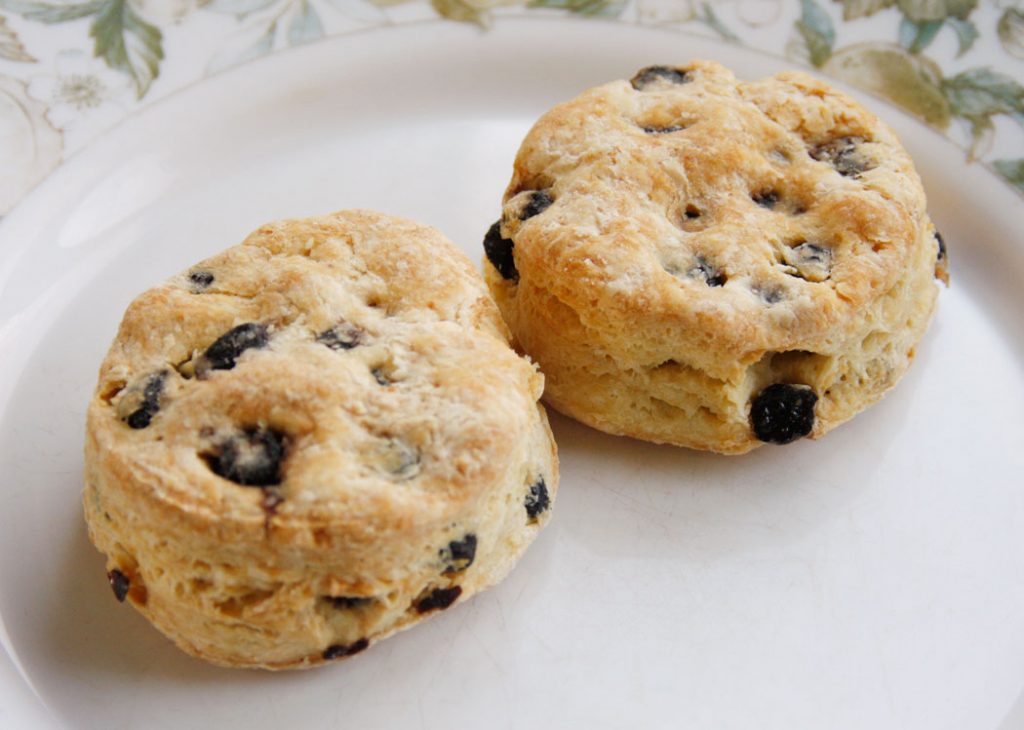
Should I go to Tea?
trina astor-stewart
Should I go to Tea with you, Madam?
And should you serve a scone or two
Let me just now whisper…
May I entreat of you?
Would it be just too much trouble?
I hope… I ask ever so pleadingly…
That you bake them gluten-free, for, of course
With my diet, these would ever so be pleasing me!
And may I be so bold, Madam,
To ask another thing or two?
I shouldn’t care to so offend but –
Could you be so kind as to add a berry blue?
A wee bit of butter, Devon cream, some jam,
And Madam, let me say, such scones would tears
Bring to my eyes.
You see, such a Tea-Time, well for me, it’s been some years…
To many, a story, as told in this poem, would be an odd thing.
Scones are taken for granted by many. For instance, the fare at a Victorian Tea rarely has very much that someone with a gluten sensitivity or celiac disease may eat. In my travels in the gluten-free world, I’ve met many people while doing a taste test that has so hesitatingly asked, “Is this really gluten-free?”
At one taste test event, I had doughnut samples, and a gentleman came over and asked just that same question to make sure they were safe for him to eat. When I assured him they were, he said, “You know, it has been twenty years since I had a doughnut!” He came back for another couple, and I could not refuse!
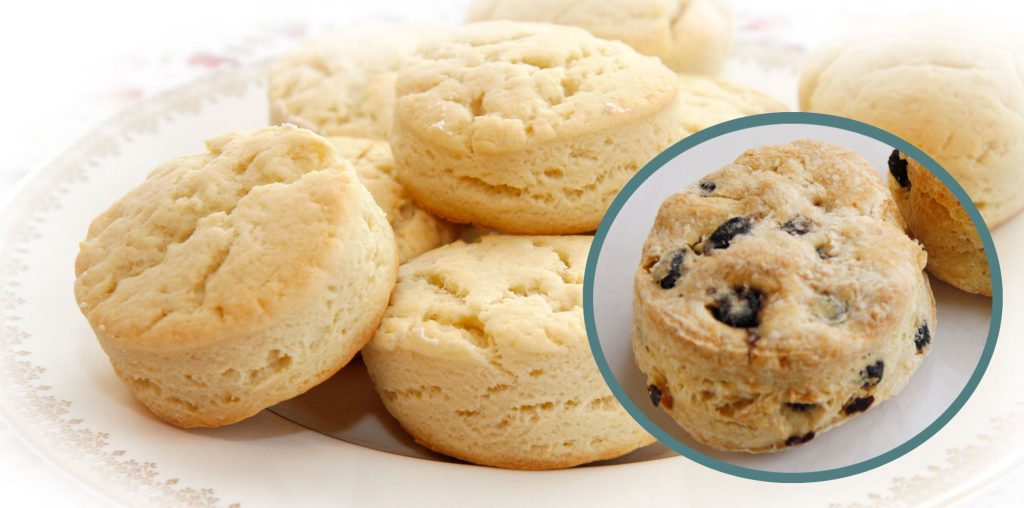
Gluten-Free Tea Scones – Blueberry or Plain
Course: BakingDifficulty: Easy12
servings20
minutes30
minutes350
kcalFor Scone Aficionados Everywhere!
Ingredients
Step One – Ingredients
2 Cups of Trina’s Pastry Flour Mix #2
The recipe for the Pastry Flour is in the cookbook, Gluten-Free, You Can Do It!1/4 cup, same as above, for dusting while rolling out the dough
Pinch of salt
1 ½ tablespoons of double-acting gluten-free baking powder
½ teaspoon baking soda
¼ cup vanilla sugar (This is my secret ingredient, I keep a large bottle of sugar handy to which I have added vanilla beans. The sugar becomes infused with the aroma of vanilla. you can substitute 1 tsp. pure vanilla)
1 tablespoon Xanthan Gum
Step Two Ingredients
1 cup butter
Step Three Ingredients
¾ cup Dried Blueberries
Step Four Ingredients
1 egg
1 cup whole milk
1 tablespoon white vinegar
Directions
- Step One – Ingredients: Mix all dry ingredients well in a bowl. (Mix Pastry Flour Mix #2 ahead of time and save on hand to save time. Or blend enough for 2 1/4 cups for this recipe.
- Step Two Ingredients: Crumble the mixture together with a pastry blender (or by hand) until coarse and the butter is in small pieces.
- Step Three Ingredients: Add Dried Blueberries and blend the mixture.
- Step Four Ingredients: Place all wet ingredients into a second bowl and beat until frothy, about 15 seconds.
- Add wet ingredients to dry, and blend gently until dough comes together. Don’t overmix.
- “Dust” the kneading surface, or countertop, with a small amount of the 1/4 cup pastry flour mixture that has been set aside. Add only as much flour as needed to handle. Scrape the batter onto the dusted surface, and dust a small amount on top to handle the dough. Gently knead the dough together to form a rollable dough. Using a rolling pin, gently roll out the dough into a rectangle to a 1 ½ inch thickness. A thicker dough will result in a thicker scone.
- Using a sharp scone or cookie cutter (dipped in Pastry Flour #2 to avoid sticking), begin to cut out the scones and place them onto a cookie sheet lined with parchment paper. Alternatively, you can use a knife. All the edges of the scone should be cut out as this will help the rise factor.
- Knead any leftover dough and re-roll it out. Cut more scones. Continue until the dough has been used up.
- Preheat oven to 400 F. Place scones on the middle rack- bake scones for about 20 to 30 minutes, until tops are slightly golden, tops are firm when touched. Do not over-bake. Place scones on a linen towel-covered cooling rack to cool. (or cool on the parchment paper lined cookie sheet) Makes about 9 to 12 full-size scones. You can also make about 24 mini-scones.
Notes
- Scones are best when served warm. There are a couple of ways you can manage this. You can refrigerate the scones until baking time, up to overnight. Or you can freeze the scones and bake as many or as few as you like at a time. The recipe can be doubled. Baking frozen scones will need slightly longer.
- Alternatively, the scones are also tasty when cooled for a day or so. To freshen up day-old scones, either microwave to warm or slice and toast.
- Tips: When I’ve frozen scones to be baked later, I’ve found a better result occurred when scones were left to defrost a little before baking but remained cold—about 20 minutes. Baking them frozen, they did not rise quite as much. However, I am often in a bit of a rush and pop them right into the frozen oven. You can also bake one or two at a time in a Toaster Oven. Re-heating in a microwave is ok, but they don’t turn out as well when baked in a microwave.
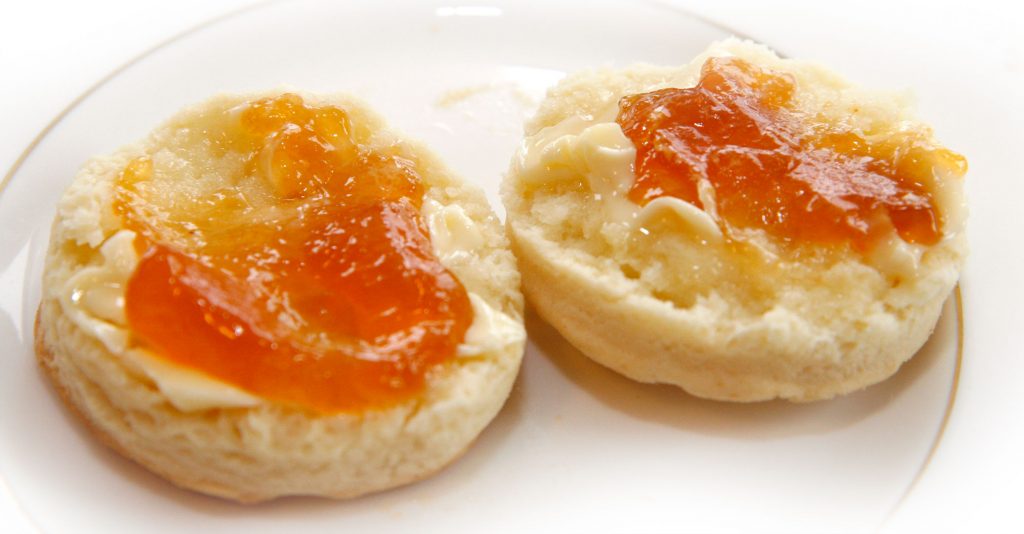
So next time you plan a Tea Time Party, remember to serve these scones.
They are just that good!
Biscuits and Gravy! My experience with this base recipe has been so good! It took quite a bit of experimenting to get a gluten-free scone that tasted just the way I wanted it to. Before going gluten-free, I learned to make Southern Biscuits and Scones in North Carolina when I lived there with my grandmother. They were a staple. As the story goes, my mother woke up to hot biscuits every morning on the farm back in Oklahoma.
Museum Tea Parties
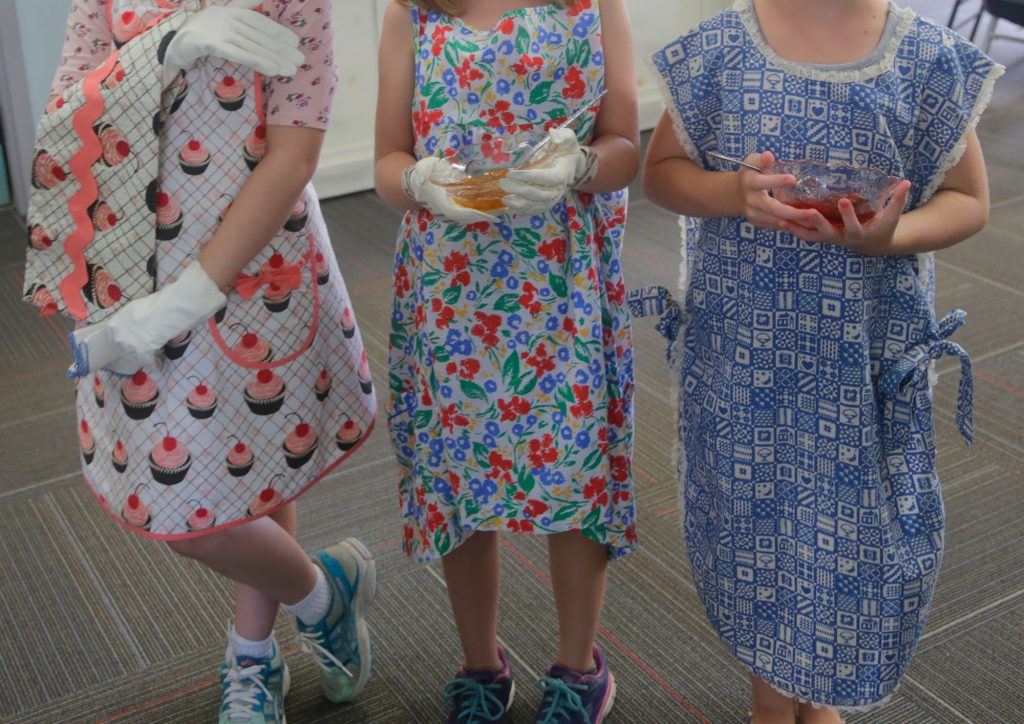
One summer, when I was the executive director for Lynde House Museum, I enjoyed running a children’s summer camp together with High School student volunteers. The summer camp met the needs of three groups of people. Children whose parents wanted them to have an enriching and educational camp experience, high school students who needed to fill forty hours of volunteer time, and our senior volunteers and myself who just loved entertaining and sharing the fun.
I made these scones for our tea parties, and they were a great hit. No one realized they were gluten-free. Baked them ahead and warmed them up in a toaster oven, spread them with butter and jam, and they went… as they say, ‘like hotcakes! I have served this gluten-free recipe to people at teas that normally eat wheat scones, and they did not turn up their noses but asked for seconds. I have served this gluten-free recipe to people at teas that normally eat wheat scones, and they did not turn up their noses but instead asked for seconds.
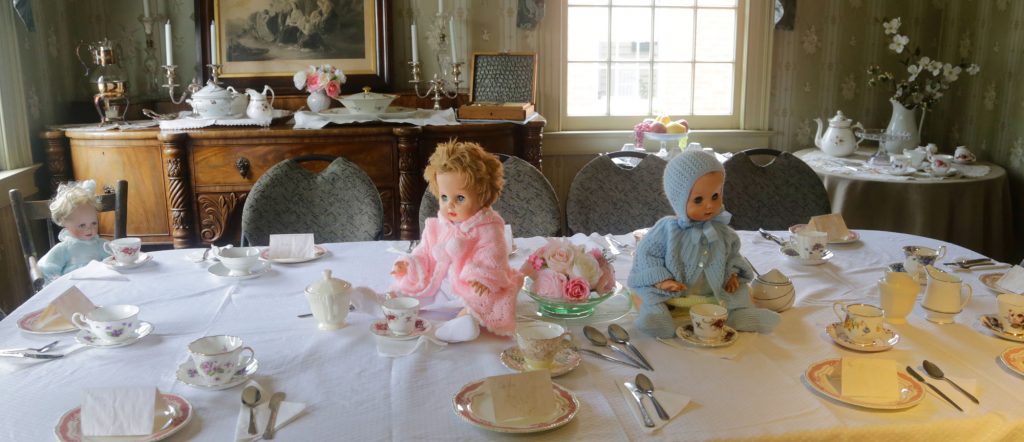
Five little girls and a couple of little boys helped set the table for this tea party. You would be surprised how much fun we all had. One day at lunch, the museum’s senior volunteers hosted the children. The next day, the children hosted the museum volunteers, helped set the table, and whipped the cream for the scones. It was fun. There were no cell phones at the table, and the conversation was amazing! I wish I’d had a tape recorder.



Your blueberry scones look lovely! I will have to make some. I’ve also signed up for your new posts.
Please stop by my website and share a single link back to your recipe to promote it.
May I recommend this page for your link?
It’s my wheat-free, gluten-free “Blondies”. https://lifewithoutusawheat.com/blondies-wheat-free-gluten-free/
Trina, I’ve pinned your recipe on my GF Pinterest Board. I look forward to enjoying one!
Hi Julie, Thank you for commenting. Yes, the blueberry scones are delicious. I want some now just looking at them. I feel bad that I am still working on my cookbook with the exact flour blends I use. It is a lot of work though to get it done, and I want it to be right. I’m only weeks away now, though. I enjoyed seeing your blog too and am happy to connect with another gluten-free person like you who is trying to share recipes and help others out along this journey. Keep in touch, Trina